Drawing Lab: sketch to 3D A line on paper. A shape you can hold.
Sketch, explore in 3D, and make it yours.
- 01 Draw
- 02 Shape
- 03 Print
01 / Your sketch
Example sketch
02 / Your relief
80 × 80 mmDraw a bold line, or pick an idea below.
Made in your browser. Your sketch stays yours.Check your file in a slicer before printing.
Not sure where to start?
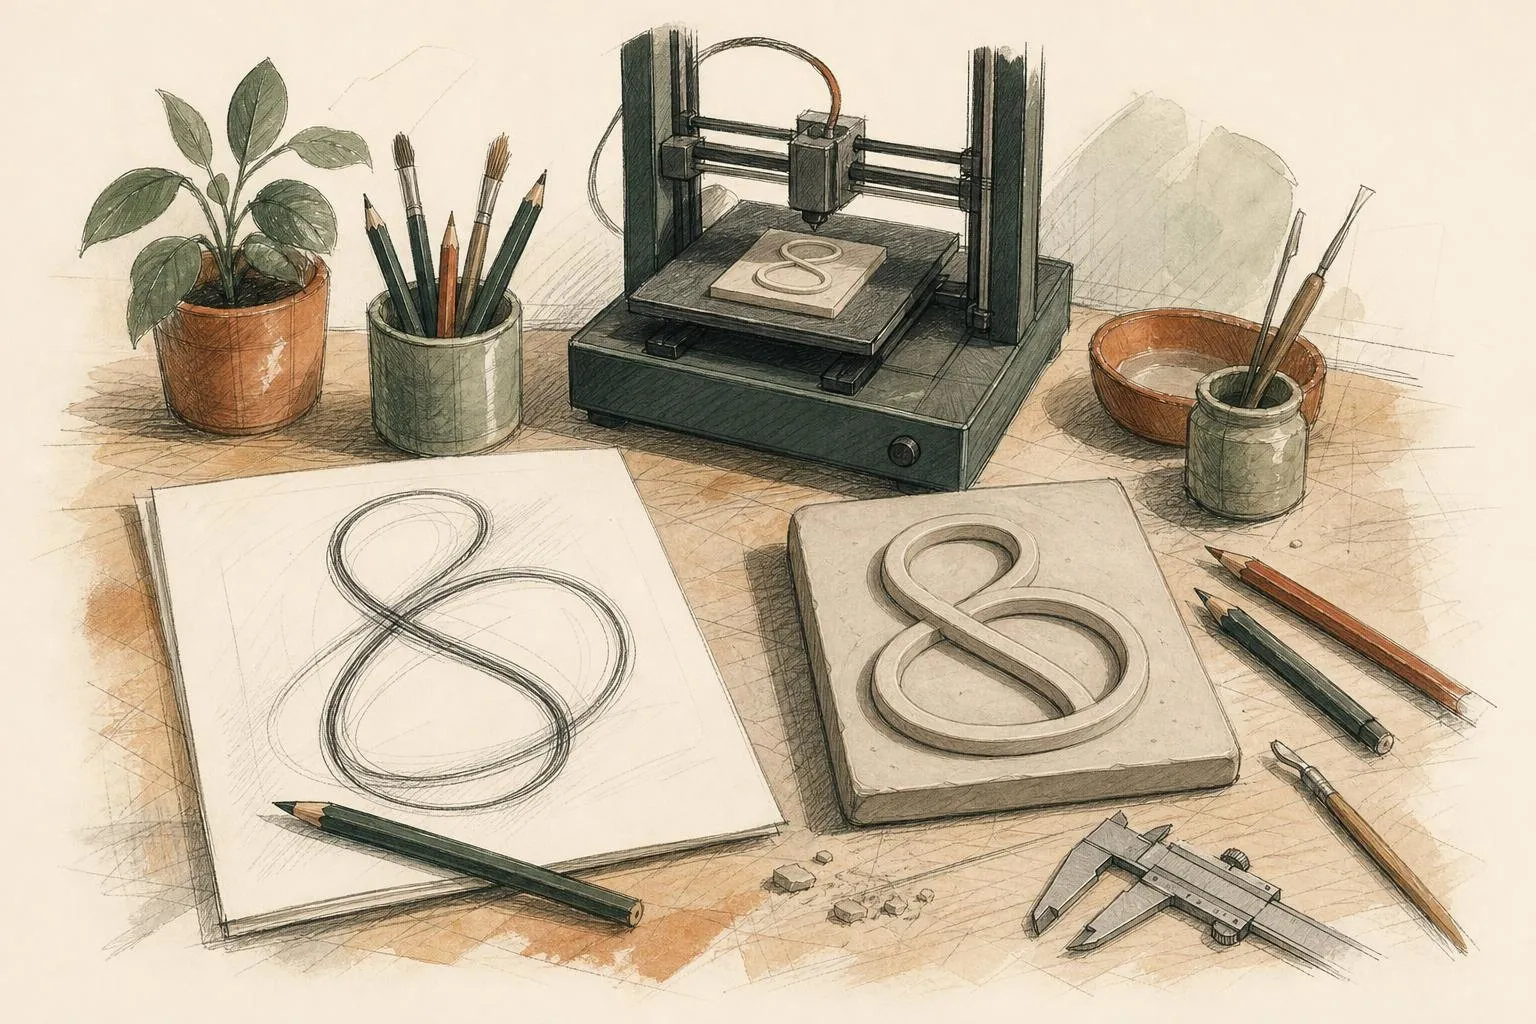
The Drawing Lab is a small workshop for one idea: a drawing does not have to stay flat. Every line you make on the pad above is read as height. Dark marks rise, the white paper stays low, and the result is a relief, the same principle a sculptor uses when carving a coin, a medal or a plaster panel. The difference is that this one takes a few seconds and ends with a file a 3D printer can turn into an object you can hold.
Using the lab step by step
- Draw on the pad with a mouse, a stylus or a finger, using the Pencil tool. The Brush slider sets the line width, the Eraser cuts back into a mark, Undo steps back one stroke and Clear wipes the pad.
- Or press Upload and choose a PNG or JPEG under 8 MB. The picture is scaled to fit the pad on a white ground.
- Press Create 3D relief. The model appears in the right-hand panel, on an 80 by 80 millimetre tile.
- Drag the model, or use the arrow keys, to turn it. The turn button spins it through a full circle and Reset view puts it back.
- Move the Relief depth slider to set how high the darkest lines stand, from 1 to 10 millimetres. The model rebuilds as you go.
- Press Download STL to save the file, and Save if you also want the sketch itself as a PNG.
If you are not sure where to begin, the three ideas under the pad, a leaf, a flowing line and a simple pattern, draw themselves and build a relief at once. Changing the sketch after a build switches the download off until you press Create 3D relief again, so the saved file always matches the drawing. A blank or very faint pad produces a prompt to add a visible line first.
How the sketch becomes a relief
When you build, the lab samples your drawing on a grid of 96 by 96 squares. At each point it measures how dark the drawing is, from white paper to solid black, and turns that value into a height. A black line reaches the full depth you set; a soft grey mark rises only part of the way. Those heights form the top surface of a solid block, which is closed with four side walls and a flat bottom 2 millimetres thick, so the model has no holes. A closed, watertight surface is what a slicing program needs before it can plan a print.
The preview you rotate on screen uses a slightly coarser grid so that it stays smooth on a phone. The exported file uses the full grid: 37,632 triangles, which makes a file of about 1.8 MB.
What an STL file is
STL is a file format for describing the surface of a solid as a mesh of triangles. The Library of Congress format record gives its origin as stereolithography, an early 3D printing method, and credits Charles Hull of 3D Systems, whose interface specification documented the format in 1988. Each triangle is stored as three corner points and a short arrow, called a normal, pointing out of the surface. The file holds no colour or material information, which is partly why nearly every 3D printing program can read it.
The format comes in a text version and a more compact binary version, and the binary one is far more common. The lab writes binary STL with the measurements in millimetres, so a slicer should show the tile at 80 by 80 millimetres without any scaling.
Image to STL: uploading a scan
The upload button turns an image into an STL file by the same rule as the pad: dark means high. That suits a pen drawing on white paper, a linocut print, a signature or a bold silhouette. A colour photograph of a face or a landscape works far less well, because skin, sky and grass all come out as mid-grey and the relief turns into a gentle lumpy field.
To create an STL file from an image that prints cleanly, scan or photograph the drawing in even daylight, crop it close, and raise the contrast in any photo editor so the paper goes white and the lines go black. Grey shadows from a phone held over the page are read as height too, so a flat, shadow-free shot pays off.
Drawing for a good print
A relief rewards confidence. Long, steady strokes make clean ridges, while lots of short, hesitant marks turn into a rough surface. A brush size between 14 and 24 gives lines wide enough for most machines; much below that, a line can come out thinner than the nozzle of a typical printer and vanish. If you are drawing with a finger on a phone, turn the brush up a little.
Think about where the light will fall. A relief is read by shadow, so shapes with clear edges, such as a profile, a hand, a leaf or a looping signature, look strongest when the tile is propped against a window. Large filled areas become plateaus; leave some paper between shapes so the eye can separate them. The eraser is useful for cutting a highlight back into a dark shape, the same way a kneaded eraser lifts graphite on paper.
Opening the STL file
You do not need to print the tile to look at it. Any slicer will open the STL file and let you turn it around, and so will a dedicated STL file viewer. F3D is a free, open-source viewer whose documentation lists STL among its supported formats. Opening the model before printing is also the quickest way to spot thin ridges or tiny islands that a particular machine will struggle with.
Printing it at home
A slicer turns the STL into instructions for one specific printer. PrusaSlicer is free, open source and runs on Windows, Mac and Linux, and Prusa describes it as working with any FDM or resin printer. UltiMaker Cura is also free and open source and runs on the same three systems. Many printer makers supply their own slicer, so start with whatever came with your machine.
Load the file, check that it reads 80 by 80 millimetres, lay it flat with the drawing facing up and choose your printer’s profile for the filament you are using. For PLA, the most common filament, Prusa’s material guide recommends a nozzle temperature of 215 degrees Celsius for the first layer and 210 degrees after that, with the bed at 60 degrees, and names a smooth or satin PEI sheet as giving the best adhesion. Prusa also notes that PLA from other manufacturers may want anything from 185 to 235 degrees, so the temperature printed on the spool or the maker’s data sheet comes first. A finer layer setting in the slicer keeps the drawn lines crisper on a small part like this.
Pale filament shows the relief best, for the same reason plaster casts are white. Printed tiles can be painted, rubbed with graphite powder to bring out the lines, or pressed into clay as a stamp.
Where to print in London
If you have no printer, some London libraries run digital makerspaces. Lab Central at Redbridge Central Library, on Clements Road in Ilford, lists 3D printing among the tech events and clubs it hosts, and its page gives 020 8500 4426 as the number to ask about sessions. Your own borough’s library site is worth a look too, since makerspace equipment, booking and any charges vary from council to council.
Where the idea comes from
Turning a drawing into a raised surface is an old trick. Medal makers drew their designs before cutting them into a die, and Victorian manufacturers turned engravings into embossed wallpaper and book covers. A cameo carver, a coin engraver and a bookbinder stamping a cover all had to decide which lines would stand proud and which would sink, and all of them worked from a drawing first.
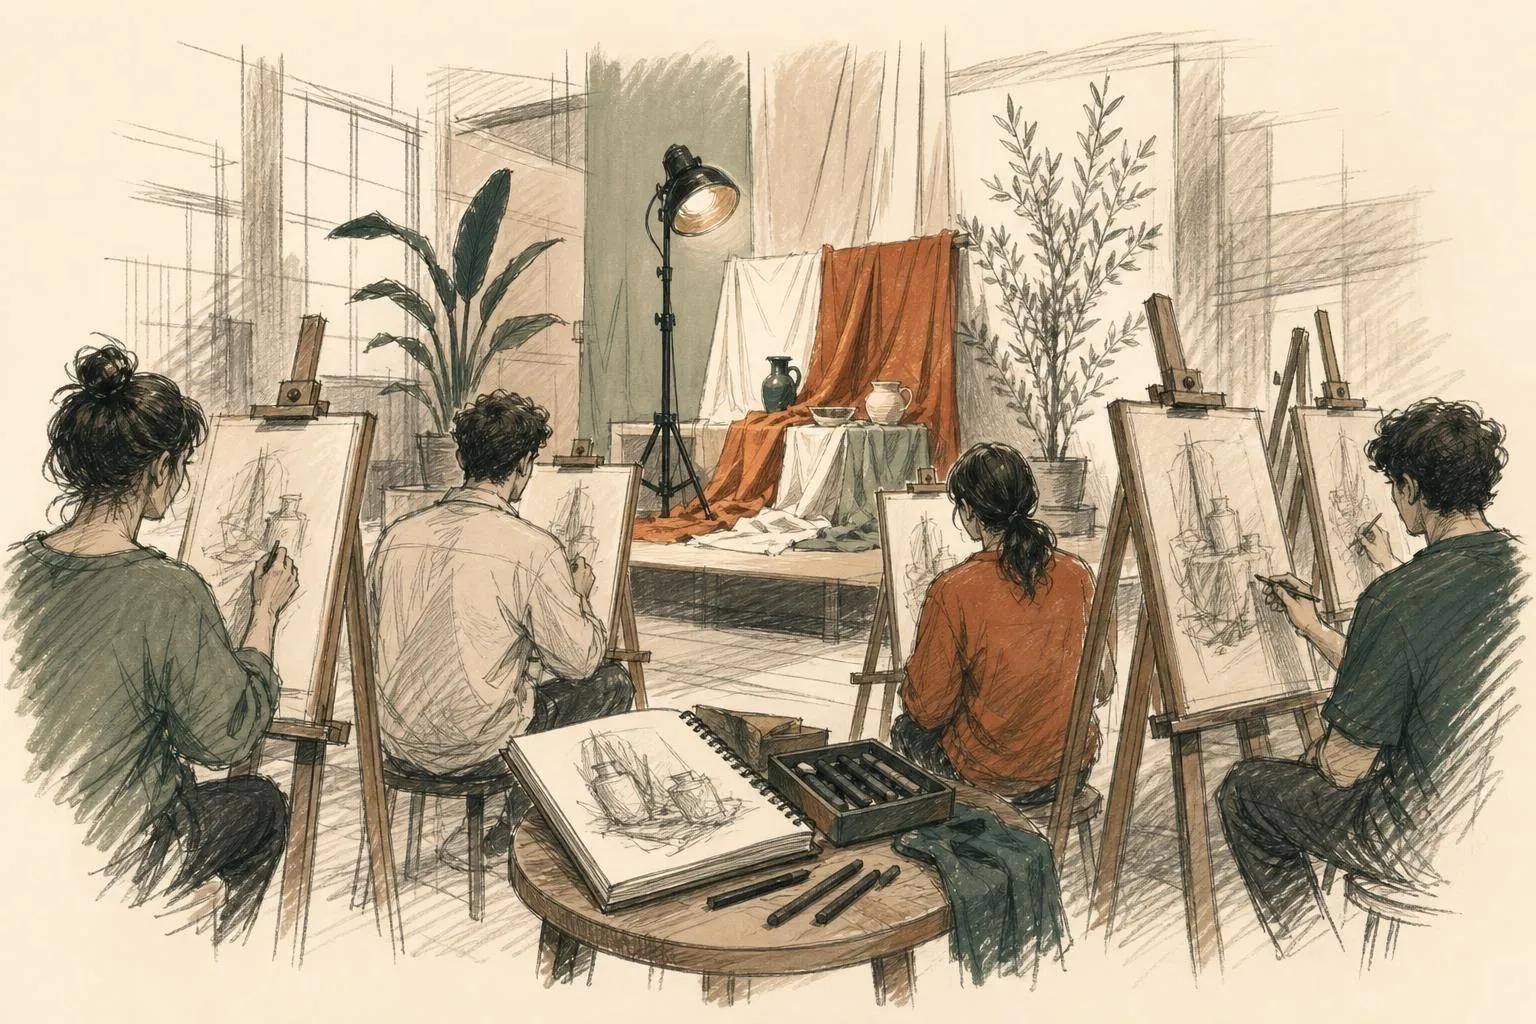
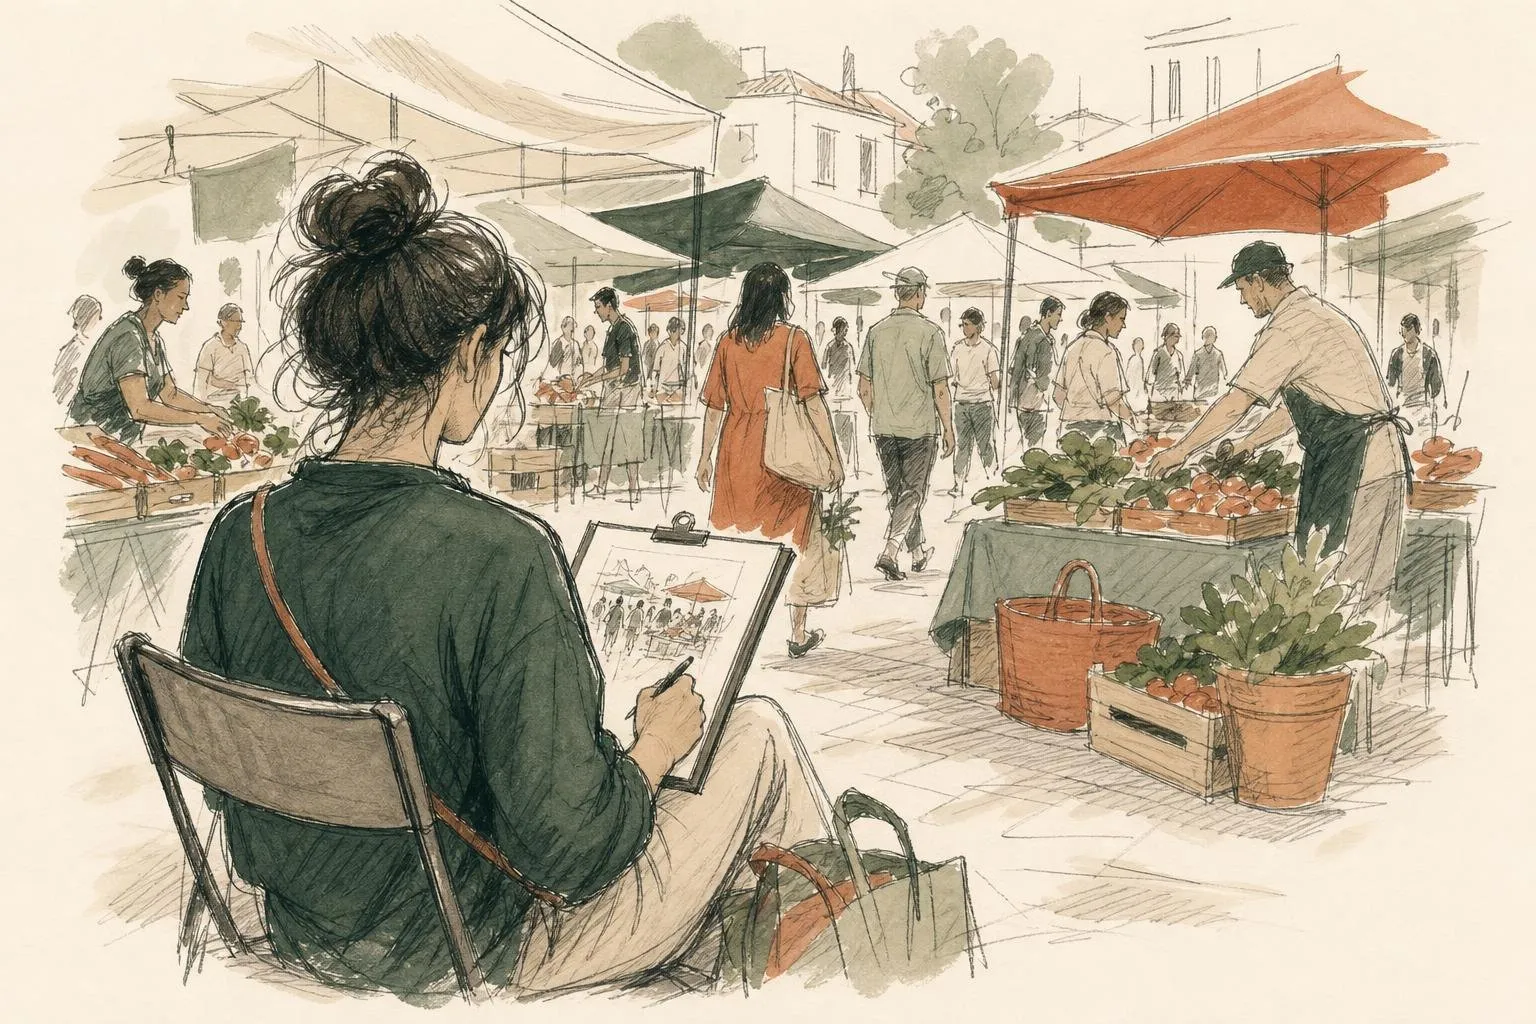
Life drawing trains the eye to read form through light and shade, and reportage drawing trains the hand to commit to a line quickly. Both habits make better reliefs. To practise the drawing side, the guides to life drawing and still life drawing are good places to start.
What the lab does not do
The lab makes reliefs, not free-standing sculptures. Turning a single drawing into a full figure you can walk around needs a much larger model of shape and depth than a browser can run on its own. What rises from the tile is exactly what you drew, nothing invented. Turn the finished print under a desk lamp, with the light raking across it from one side, and you will see at once which lines carry the picture.
FAQ
Questions about the lab
01Is my drawing uploaded anywhere?
No. The Drawing Lab runs entirely inside your browser. The sketch, the 3D relief and the STL file are all calculated on your own device, and nothing is sent to a server or stored after you close the page. If you want to keep a sketch, use the Save button to download it as a PNG.
02What size is the 3D model?
The relief sits on a square tile of 80 by 80 millimetres with a 2 millimetre solid base. The drawn lines rise between 1 and 10 millimetres above the base, depending on the depth you choose. Most home 3D printers can print a tile of this size in one piece without scaling.
03Which file format does the Drawing Lab export?
It exports a binary STL file measured in millimetres, the format that almost every slicing program accepts, including PrusaSlicer, Cura and Bambu Studio. Open the file in your slicer, check the size and orientation, then slice and print as you would any other model.
04What kind of drawing works best?
Bold, dark, continuous lines on a light background give the cleanest relief. Thin grey shading turns into shallow ridges that can disappear in print, so press harder or raise the brush size. Simple subjects, a signature, a profile, a leaf or a loop, usually print better than busy scenes.
05Can I upload a photo instead of drawing?
You can upload a PNG or JPEG of up to 8 megabytes. The lab reads how dark each part of the image is and raises the dark areas, so a scan or a clear photo of a pen drawing works far better than a colour photograph of a person or a landscape.
06How do I open an STL file without a 3D printer?
Any slicer, such as PrusaSlicer or UltiMaker Cura, will open the file and let you turn the model around, and both are free. A standalone viewer such as F3D, which is free and open source, also opens STL files. Looking at the model first shows thin ridges or small islands before you spend filament on them.