Life drawing guide
Life Drawing Classes in London for Beginners: A Complete Guide
Life drawing means drawing a live, usually nude, model in the room with you. This guide explains how a session runs, what to bring, how to behave and which kind of class suits a beginner.
Prices and model rates checked on
- Typical session
- 2 to 3 hours
- Pose lengths
- 1 minute to 40 minutes
- Core kit
- Paper, charcoal, pencil, eraser
- Experience needed
- None
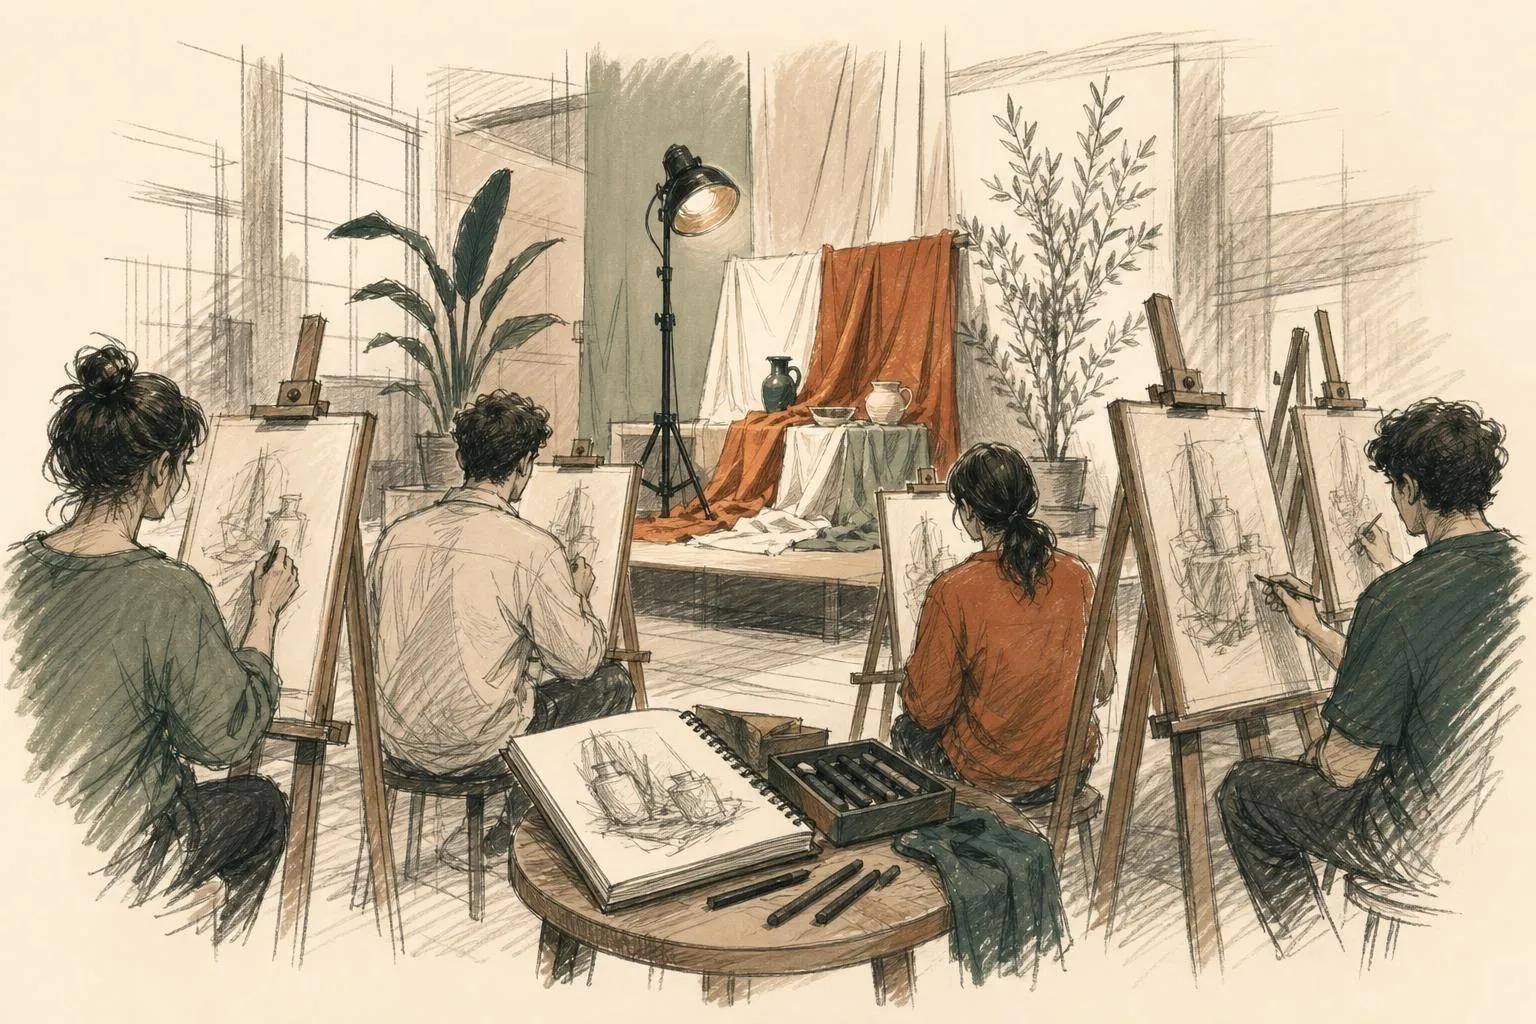
Life drawing is the practice of drawing a living person who is posed in front of you. The model usually stands, sits or reclines on a platform, lit by one or two lamps, while a group of people draw from different angles around the room. It is the oldest exercise in the European art school, and it is still the most direct way to learn how a body is built, how weight settles through a pose and how a few well-judged lines can hold a figure together.
The appeal for a newcomer is simple: nothing else gives you the same quick feedback. A bowl of fruit does not shift its weight or breathe, and a photograph has already been flattened by a lens. A person in the room makes you decide, minute by minute, where the shoulder sits against the hip and how long the thigh really is. That is hard at first, and it is why people keep coming back.
What happens in a session
Most sessions last between two and three hours, with a short break halfway. A typical evening starts with the model taking a series of quick poses. These are the gesture poses: one to two minutes each, sometimes under a minute, in which nobody has time for detail and everybody is pushed to find the movement of the whole figure. A line from the head through the spine to the weight-bearing foot is often enough.
After a handful of gestures the poses lengthen. Five minutes lets you place the main proportions. Ten minutes allows some tone on the shadow side. By the second half of the evening there is usually one or two long poses of twenty to forty minutes, held with a rest every twenty minutes or so, and this is where careful measuring and shading come in. Longer courses, such as a ten-week term, may keep the same long pose across several sessions so that a drawing or painting can be built up over time.
Rooms are warm, quiet and a little dim around the edges, so that the lamps model the form clearly. People set up at easels, on drawing boards propped on their knees, or on low stools called donkeys that clamp a board upright. Nobody looks at anyone else’s work unless invited.
A typical evening, pose by pose
| Pose length | What to draw | What it trains |
|---|---|---|
| 30 seconds to 2 minutes | One line for the spine, then the weight-bearing leg | Gesture and movement |
| 5 minutes | The big shapes: head, ribcage, pelvis | Proportion |
| 10 to 15 minutes | Contour plus one value of shadow | Light and form |
| 20 to 40 minutes, with rests | Measured proportions, tone, the setting | Observation and patience |
If a session ends with you having filled twenty sheets of quick gestures and one careful long pose, it has done its job.
Life drawing classes in London and the UK
London has more life drawing than any other UK city, from art-school short courses to relaxed evenings in pubs and studios, and a dedicated page covers life drawing in London in detail, with verified prices: a two-hour drop-in costs from £12 to about £35 depending on whether there is a tutor, and a term-long beginners course runs from around £179 to £424 for twelve weeks, with concessions at most colleges. Outside the capital the pattern is similar. Most cities have a college, an adult education service or an artists’ collective that runs weekly sessions, and a good number of towns have an informal group that meets in a church hall or an arts centre.
To find life drawing near you, start with three searches: your local adult education or further education college, independent art schools and studios, and the events listings of galleries and arts centres, which increasingly host one-off evenings with materials included. Search by the kind of session as well as by place. A beginner wants a class that says “all levels” or “beginners”, with a tutor. Someone with some experience may look for a long-pose course. A group of friends may prefer a one-off social evening. The sections below set out the main kinds.
Kinds of class
Drop-in sessions. You pay per evening, turn up and draw. Many are run by independent organisers in pubs, cafes, studios and community spaces. They suit people who cannot commit to a term, and the atmosphere is usually social. Some are taught lightly, with a host giving a pose structure and the odd tip, and others give you a model and leave the rest to you.
Short courses. Art schools and adult education colleges run courses of a day, a weekend or several weeks. These have a tutor, a structured sequence of exercises and a group that stays the same. For a first term, this is where most beginners improve fastest, because the tutor can see what you are doing wrong from week to week.
Untutored sessions. A room, a model and a time, with nobody teaching. They tend to be the cheapest option and they suit people who already know how to start a drawing and want mileage.
Long-pose courses. One model, one pose, held across weeks. The aim is a worked drawing or painting rather than a series of sketches. They suit people who have done a few terms and want to slow down.
Hen party and social sessions. Some organisers run private evenings for groups, often with a humorous host, drinks and a model who is comfortable with a lively room. These are about the social side as much as the drawing, but they can still teach something, and they are a gentle first step for people who find a quiet studio intimidating. Check that the organiser has an etiquette briefing and a professional model before booking.
Materials to bring
You do not need much. A first session works with a very short kit list:
- A pad or loose sheets of cheap paper, around A2 if you can carry it, A3 if not. Newsprint is popular for gesture poses because it is cheap and you can afford to waste it.
- Charcoal sticks, ideally vine charcoal, which smudges and erases easily.
- A soft graphite pencil, such as a 4B or 6B, and a harder one for fine lines.
- A putty rubber, also called a kneaded eraser, which lifts charcoal without tearing the paper.
- A drawing board and clips or masking tape, unless the venue provides boards.
Conte sticks, ink and brush pens come later. The temptation is to buy expensive materials before you can use them, but cheap paper and a few sticks of charcoal are a better start, because a spoiled sheet costs nothing and you will not be precious about it. A spare sheet is useful for wiping your hands.
Wear clothes that tolerate charcoal dust. Many venues are warm because the model needs it, so layers help.
Choosing between formats as a beginner
A useful rule for a first term is to match the format to your temperament. If you like structure and feedback, take a taught short course, because the tutor will correct the same faults every week until they stop. If you like to work alone and dislike being watched, a quiet untutored evening may suit better, though progress is slower without a second pair of eyes. If you are nervous about the nude figure, a clothed-model session or a friendly social evening is a gentler way in. None of these choices is permanent, and plenty of people mix them: a weekly course for the teaching, plus an occasional drop-in for extra practice.
Life drawing models: pay and the job
Life modelling is skilled, paid work, and knowing how it is organised makes you a better guest in the room. In the UK, the Register of Artists’ Models publishes guidance that most serious venues follow. Its recommended rate is £20 an hour, with a minimum of £40 for a session, and a model should be paid in full when a booking is cancelled with less than ten days’ notice. The guidance also backs a model’s right to insist on a timer for short poses, and treats rests during long poses as a matter for agreement between the model and the organiser rather than a fixed rule.
For anyone thinking of becoming a life drawing model, those guidelines are the place to start: they describe what to expect from a booking, how pay is handled and how to work with the person running the session. For anyone drawing, they explain why a session rarely costs much under £12, and why the timer and the breaks belong to the model.
Etiquette in the life room
The model is a professional doing a physically demanding job. A few rules apply almost everywhere, and a tutor or organiser will usually go through them at the start:
- Do not talk to the model during a pose unless the tutor opens a conversation. Chat between poses is usually fine and often welcomed.
- No phones, no photography, no filming. Switch your phone off or silent and keep it in your bag.
- Do not touch the model, and do not ask them to adjust a pose. Raise questions through the tutor or organiser.
- Keep your eyes on the drawing and the figure, and do not comment on the model’s body. Remarks about the pose or the drawing are fine, remarks about the person are not.
- Do not walk across the model’s sight line during a pose, and keep clear of the platform and the heaters.
- Do not look at or comment on other people’s drawings unless asked. Praise is welcome, unrequested critique is not.
None of this is complicated, and the tone of a well-run room is more like a library than a party. The model is paid to hold still, and the quiet is part of the work.
How beginners can improve
Improvement is mostly a matter of mileage, but some habits speed it up.
Start every session with gestures. Two-minute drawings, done fast and loose, teach you to see the pose as a single movement instead of a list of parts. Do not look at the paper any more than you have to.
Measure, then commit. The standard technique is to hold a pencil at arm’s length, lock your elbow and use the pencil to compare lengths: the head against the torso, the forearm against the lower leg. Beginners often draw the head too large and the legs too short, and measuring is how you catch that before the drawing is finished.
Look for the big shapes first. A seated figure is a stack of blocks, a leaning figure is a tilted line with a counterweight. Break the body into the head, the ribcage, the pelvis and the limbs, and fit them together before any detail goes in. This is where anatomy for artists helps most: knowing where the ribcage ends or how the shoulder blade moves over the back tells you what to look for.
Draw the negative space. The shapes between an arm and the torso, or between the legs, are often easier to judge than the limb itself, and they correct your proportions fast.
Keep a few drawings, not all of them. Throw away what you do not want and keep the ones that surprised you. Compare a drawing from this month with one from three months ago and the progress will usually be obvious.
Draw outside class, too. A pocket sketchbook on the bus or in a cafe gives you the same kind of quick looking, and the same habit of putting down what you see, which is the approach behind reportage drawing. A short guide to keeping a pocket sketchbook explains the routine.
Life drawing and still life drawing
Still life drawing is the quiet cousin. Objects stay where you put them, the light can be controlled and a drawing can last as long as you like, so it is the better place to learn tonal values, composition and the use of an eraser. The figure asks for speed and judgement, because the subject moves a little, tires and has a body that is more complicated than any bottle or jug.
Many teachers recommend doing both. Still life builds patience and an eye for light, and the figure builds quickness and a sense of structure. The skills carry across: a student who can model a pear in three tones will find it easier to model a shoulder.
First session and what comes next
Anyone planning a first visit will find a practical walkthrough in the guide to a first life drawing class, including what to bring and what to expect from the first twenty minutes. The overview of art classes in the UK places this in the wider set of drawing guides.
Pick one class with a tutor and go three or four times before judging yourself. The first drawings from a life room are often stiff, and by the fourth week the hand usually loosens. Then try a drop-in evening or a different venue, because a change of model, light and company shows you things that a single room cannot.
FAQ
Questions, answered
01What is life drawing?
Life drawing is drawing the human figure from a live model who holds a series of poses, usually nude, in a class or an open session. Poses run from one-minute gestures to long poses of twenty minutes or more, and the point is to learn proportion, weight and movement from a real body rather than a photograph.
02How much are life drawing models paid?
The Register of Artists' Models, the UK register for life models, recommends £20 an hour and a minimum of £40 for a session, with full payment if a session is cancelled at less than ten days' notice.
03Do I need experience to join a life drawing class?
No. Most drop-in sessions and beginner courses expect people to arrive with little or no experience, and many tutors say a first drawing that goes wrong is part of the process. The model holds a pose, you look and mark the paper, and the tutor or session leader gives pointers if the session is taught. Bring a pad, a few soft pencils or charcoal, and be ready to draw badly for the first half hour.
04Is the model always nude?
In a traditional life drawing class the model is usually nude or nearly so, because the aim is to study the structure of the body without clothing hiding it. Some sessions use a clothed model, and the listing normally says which. Models are professionals, the setting is calm and focused, and the room has clear rules about behaviour and phones.
05How long are the poses?
A session usually starts with short poses, often one to five minutes, to warm up the hand and eye. Poses then lengthen to ten, twenty and sometimes forty minutes, and a long-pose course may keep one position across several weeks. Short poses train speed and gesture, long poses allow tone, proportion and detail.
06What is the difference between taught and untutored sessions?
A taught session has a tutor who sets exercises, walks round the room and comments on your drawing. An untutored session, sometimes called a life drawing open session, supplies a model and a room but no teaching. Beginners often prefer a taught class first, while more experienced people use untutored sessions for practice at a lower cost.
07Can I take photographs of the model?
Almost never. Phones and cameras are normally kept away so that the model feels safe and the room stays focused on drawing. If a venue allows photography of your own drawing, ask the tutor first, and never photograph the model or other people's work without permission.