First session
Your First Life Drawing Class: What to Expect and What to Bring
A first life drawing class is quieter, more organised and less awkward than most people imagine. This walkthrough follows the evening from the door to the last pose, with a kit list and a few ways to settle your nerves.
Model guidelines (Register of Artists' Models), class times and online formats checked on
- Arrive
- 10 to 15 minutes early
- Typical length
- 2 to 3 hours
- Opening poses
- 1 to 5 minutes
- Break
- Usually halfway
- Kit
- Paper, charcoal, pencil, eraser
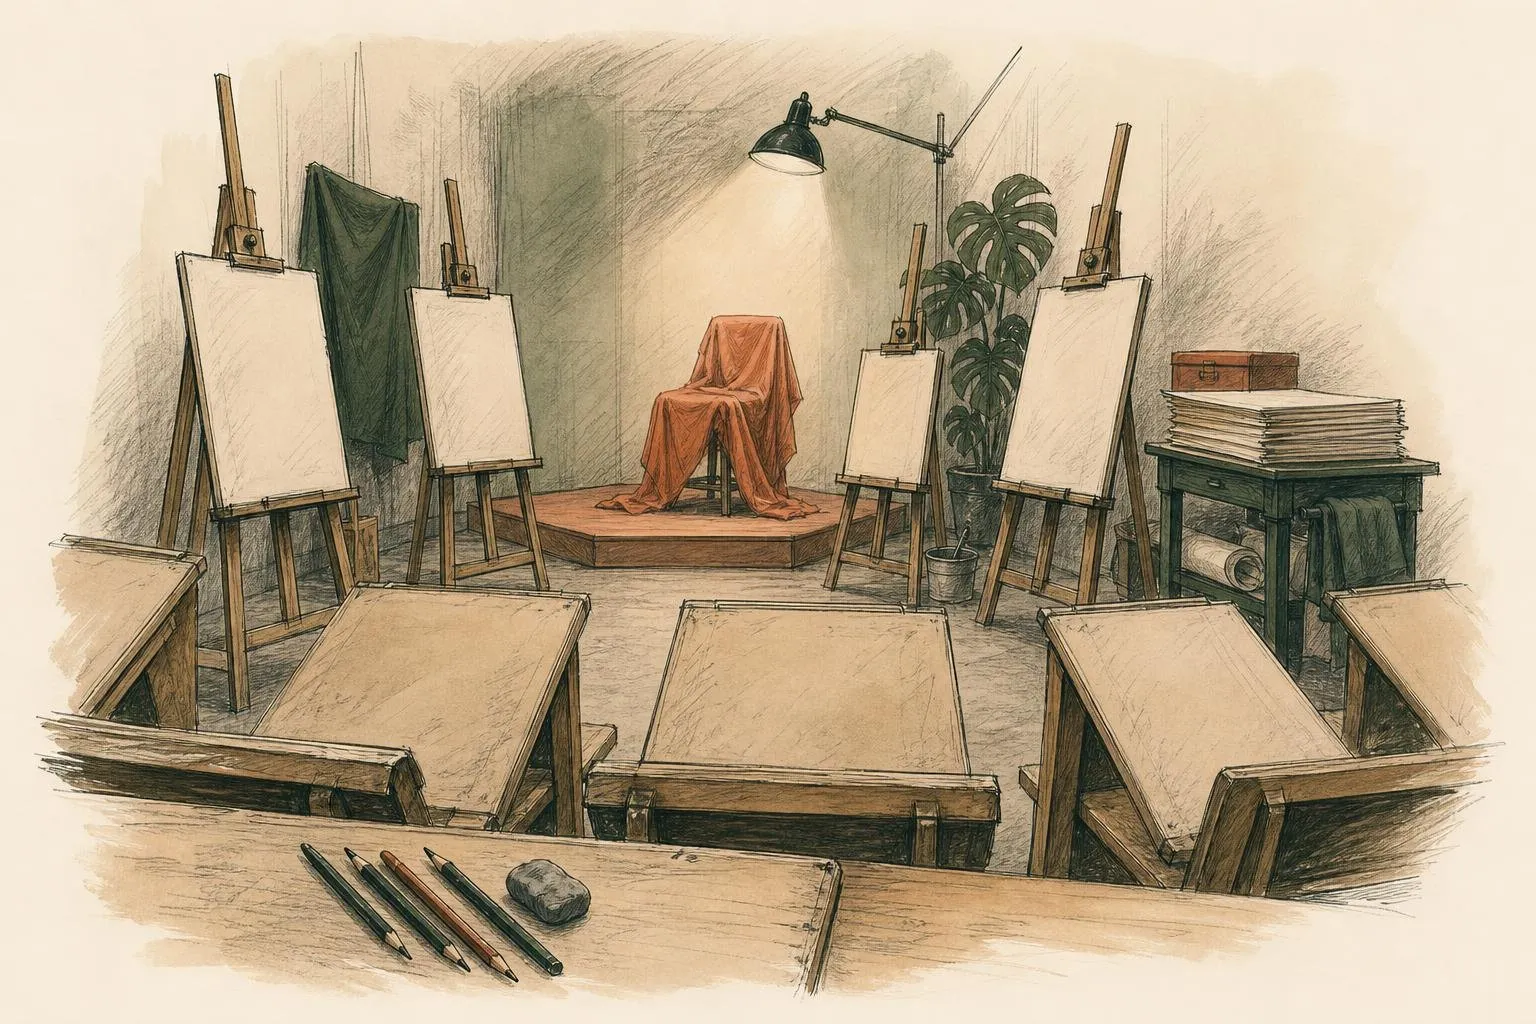
Walking into a life room for the first time is mostly a matter of logistics, and what to expect is simpler than it sounds. You find the door, put your bag down, set up a board, and then someone says that the first pose will be two minutes. Everything else is drawing. This page follows a typical evening so that nothing in the first class comes as a surprise, and it ends with a plain list of what to bring.
For the bigger picture, the main guide to life drawing explains the history and the different kinds of session. This one concentrates on the first night.
What a life drawing class is
A life drawing class is a session in which a group draws a person who holds a series of poses, timed by a tutor or host. The nude life drawing class is the most common kind, because the unclothed figure shows how weight, bone and muscle work, and that is the point of the exercise. Clothed and costume sessions exist too, and the listing will say which kind it is.
The person posing is a paid professional. In the UK many models are on the Register of Artists’ Models, which recommends a rate of £20 an hour and publishes guidelines for the rooms they work in. You will not be asked to do anything except draw.
Booking your first life drawing class
Pick a session that says beginners or all levels, and one with a tutor if you can. A taught first life drawing class has a person who sets exercises, tells you what to look for and corrects the common early errors, such as a head that is too big. Short courses at art schools and adult education colleges usually fit this description. A relaxed drop-in evening is also a good first class if you prefer to pay for one night and see whether it suits you.
Read the listing for three things: the start time, whether materials are supplied and whether the model is nude or clothed. If any of these is unclear, send a short message to the organiser. Venues differ, and the listing is the only reliable guide. The page on life drawing in London explains how to compare venues in the capital and lists current prices.
What to bring to a first life drawing class
The kit is short, and a lot of it is cheap.
| Item | What to look for | Why it helps on the first night |
|---|---|---|
| Paper | A3 (297 x 420 mm) or A2 (420 x 594 mm); newsprint or cheap cartridge | Big sheets let you draw from the shoulder, and cheap paper means you will use plenty of it |
| Willow or vine charcoal | A few thin and medium sticks | Soft, quick and easy to knock back with a cloth when a line is wrong |
| Soft pencils | One or two, such as 4B and 6B | Better for smaller drawings and for measuring against |
| Putty rubber | Also called a kneaded eraser | Lifts charcoal to make highlights without tearing the paper |
| Board and clips | A light board a little larger than your paper, plus bulldog clips or tape | Many venues lend these, so ask before buying one |
| Cloth and bag | An old rag or wet wipes, a bag for rubbish | Charcoal gets everywhere, and clean hands keep the paper clean |
Some venues lend boards and sell paper on the night, and many beginner courses include a starter kit or list the exact items. Do not buy a lot in advance. One sensible approach is to arrive with the basics and add only what the tutor recommends after the first week.
Bring water, and a layer you can take off. The studio is usually warm.
Charcoal, pencil or graphite?
Each one behaves differently, and the first class is a good time to find out which suits your hand. Willow charcoal is the usual starting point. It makes a dark, broken line, it smudges with a finger into grey tone, and it rubs away almost completely, which takes the fear out of a wrong mark. Compressed charcoal is blacker and much harder to remove, so leave it for later. A soft pencil gives more control but tempts beginners to draw small and fuss over outlines. A chunky graphite stick sits between the two. If you only bring one thing, make it a box of willow charcoal and a putty rubber.
Arriving and setting up
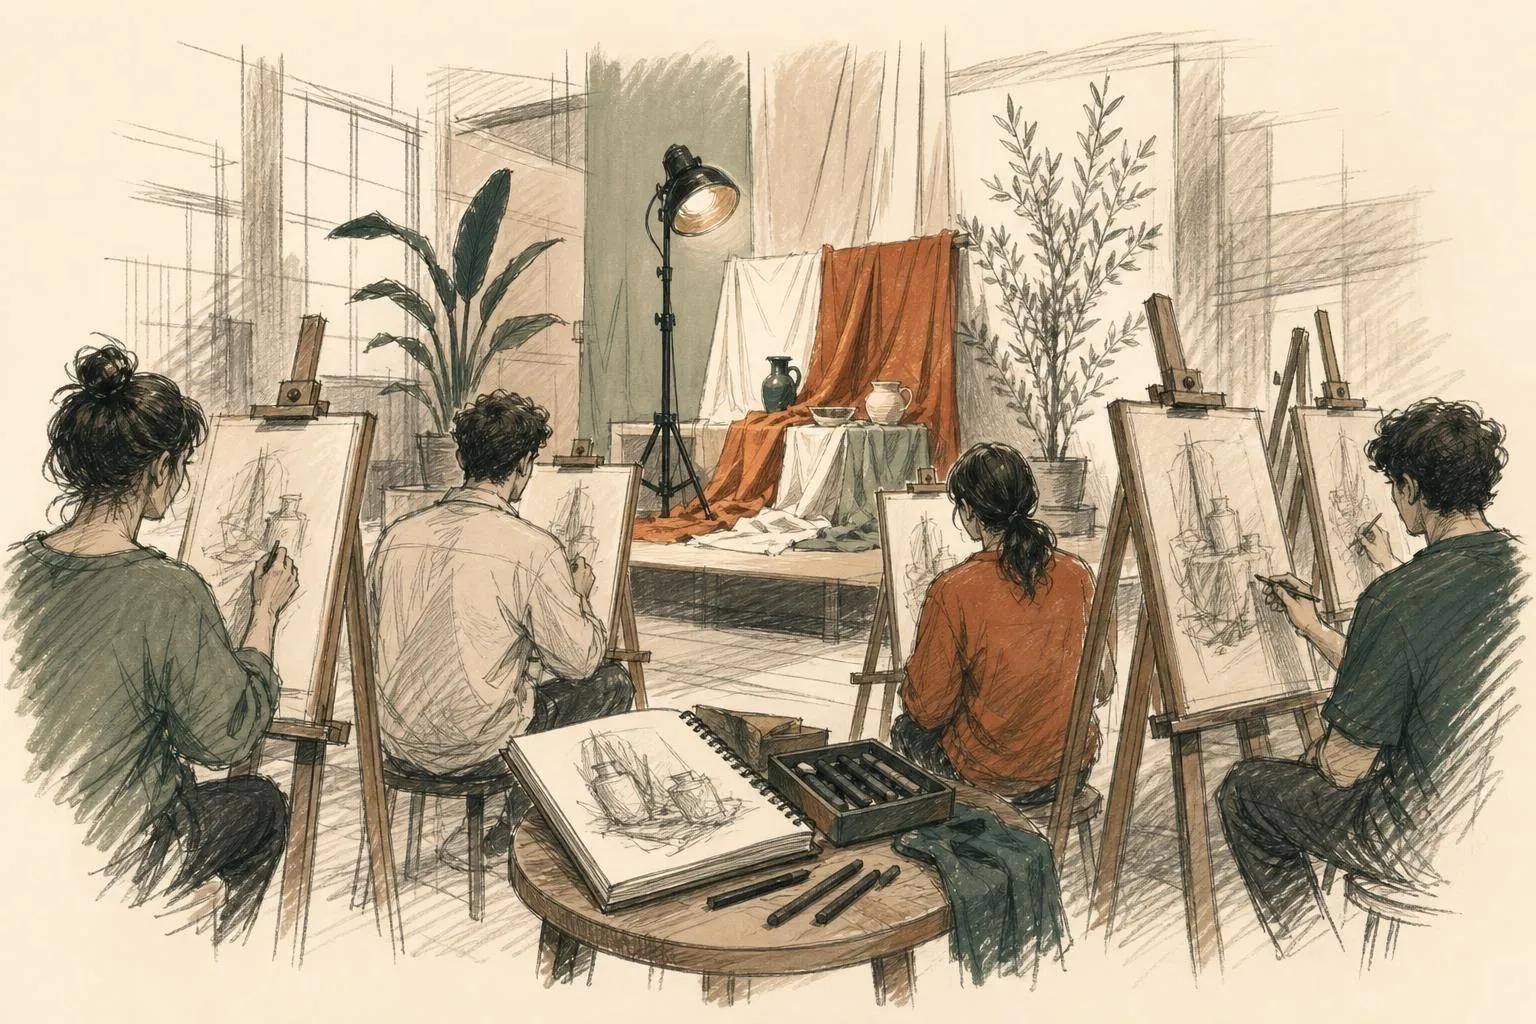
Arrive ten to fifteen minutes before the start. That gives you time to find the room, hand over any fee, hang up a coat and choose a spot. The model’s platform is the centre of the room, and the best places are rarely the front row: a position a few metres back, slightly off to the side, gives a view of the whole figure without a distorted angle. Sit or stand so that you can see the model past your paper.
Pin or clip your paper to the board and keep your drawing materials within reach on a stool or the floor. If there is a donkey, the low bench with an upright at one end, the tutor will show you how to prop the board against it. If the room is arranged around the model, take care not to block anyone’s view.
What to expect from the first poses
The model usually steps up and holds the first pose while the room settles. Many sessions begin with gestures of one or two minutes each. The task is to put down the movement of the whole figure, not the details of a face or hand. Use big arm strokes, hold the charcoal loosely and look at the model more than at the paper. In a taught class the tutor often starts with a short demonstration on a board at the front.
After a series of short poses, the next step is usually a five-minute pose and then a ten-minute one. Take these as a chance to check proportions. A common first-night result is a figure with a large head and short legs, and measuring is the cure.
If a drawing goes wrong, do not rub it out at once. Turn to a fresh sheet and try again. Quantity matters more than polish in the opening hour.
Measuring with a pencil
Measuring sounds technical, but it takes a minute to learn. Hold a pencil at arm’s length with your elbow locked, close one eye and line the tip up with the top of the model’s head. Slide your thumb down the pencil until it meets the chin. That length is your unit. Keeping your arm at the same distance, count how many units fit into the torso, the legs or the width of the shoulders, then check the same ratios on your drawing.
The same pencil can check angles. Hold it upright or level against the model to see how far the line of the shoulders or the hips tilts away from horizontal. When a model stands with the weight on one leg, those two lines usually tilt in opposite directions, and getting that right does more for a drawing than any amount of shading.
The break and the long pose
Halfway through there is a break of ten to fifteen minutes for the model and everyone else. It is a good moment to look at the drawings on other easels if people invite you to, to ask the tutor something and to get a drink.
The second half is usually a longer pose, from twenty to forty minutes, held with short rests. Here you can add tone, correct your first marks and think about the weight of the body. Do not worry if you cannot finish. A long pose is meant to be a slow drawing, and half a good drawing teaches more than a rushed whole.
First-night problems and quick fixes
Most early drawings go wrong in the same handful of ways. Knowing them in advance makes them easier to spot while the pose is still on.
| What happens | Usual cause | Quick fix |
|---|---|---|
| The head is too big, the legs too short | Drawing the face first and in detail | Mark the top of the head and the feet before anything else, then measure in head units |
| The feet run off the bottom of the page | Starting at the top without planning the whole figure | Make two small marks for the full height first and fit the drawing between them |
| The figure is tiny in the middle of the sheet | Nerves, or drawing from the wrist | Stand back, hold the charcoal further from the tip and draw from the shoulder |
| The figure looks stiff, like a doll | Outlining each part separately | Find one long curve through the spine and the weight-bearing leg before any outline |
| A long-pose drawing turns muddy grey | Rubbing and redrawing the same area | Choose two or three tones, keep the lightest areas clean and lift highlights with the putty rubber |
The model’s side of the room
It helps to know how the evening looks from the platform, because much of the etiquette follows from it. The Register of Artists’ Models asks venues to provide a cubicle with a chair, a mirror and hooks, so that models are not changing in front of the group, and a heater that can keep the platform warm. It also backs a model’s right to insist on a timer for short poses. Long poses need rests, and RAM notes that an old rule of a five-minute break after every twenty minutes of standing is now thought too soft in the UK, so rests are agreed between the model and the organiser.
That is also why photography is such a firm rule. RAM says models may refuse to be photographed or may charge a fee, and many venues simply ban it.
Etiquette, briefly
The main points are easy to remember. Keep your phone away and silent. Do not photograph the model. Do not talk to the model during a pose. Do not comment on the model’s body. Leave other people’s work alone unless asked. A tutor or organiser will normally go through these rules at the start. The longer list is in the guide to life drawing.
Coping with nerves
Almost everyone arrives feeling a little nervous. Some things help.
Arrive early, so that you are not rushing in as the model steps up. Sit near the back at first. Start with gestures and do not look at what the person next to you is drawing. Focus on a single task: where is the weight, where is the line of the spine. The nerves tend to fade after the first few minutes because the room asks for attention.
If a drawing disappoints you, remember that early life drawings look awkward to nearly everyone, and the lines that matter, such as the main curve of the body, often come with the second or third class. The principles of anatomy for artists can also help, because they give you something concrete to look for in the figure.
If a room full of strangers is the real obstacle, a live online class is a gentler first step. The Royal Drawing School, for example, broadcasts one- and two-hour Digital Studio classes from its London studios at lunchtime and in the evening, and you draw at home with the camera pointed wherever you like.
After the class
Take your drawings home flat, in a folder or between two sheets of card. Spray fixative is optional, and a plain sheet of tracing paper over charcoal prevents smudging. A few days later, look at the drawings again and pick the best two or three. The first ones will show clear faults, and the same faults will show up in a lot of people’s early work, so none of this is a verdict on talent.
Between sessions, ten minutes of still life drawing at the kitchen table or a few gestures in a pocket sketchbook on the bus keep the hand moving.
Book the next class before the week is out. Going weekly for a month does more than a single burst of effort, because the hand learns from repetition. If the first venue did not suit you, try another, since the model, the light and the group change the feel of the room more than people expect.
FAQ
Questions, answered
01What should I wear to a first life drawing class?
Wear comfortable layers that you do not mind getting dusty. Charcoal and graphite smudge onto sleeves and knees, and studios are often kept warm for the model, so a top you can remove helps. Flat shoes are sensible because you may stand at an easel for an hour or more. Nothing needs to be smart.
02What if my drawings are bad?
They probably will be, and that is normal. A first life drawing class is a skill being exercised for the first time, and the proportions and shading improve quickly with repetition. Tutors expect clumsy early work and focus on what is working. Keep the sheets, because they show a clear baseline to compare with later.
03Do I have to talk to anyone?
Not much. The room is mostly quiet during poses, and at the break people talk or do not, as they like. A taught class has a tutor who will introduce the plan and may chat with you at your easel. At a drop-in session a host usually greets new arrivals and shows them where to sit.
04Is it awkward to see a nude model?
Most people feel a moment of self-consciousness, and it usually fades within the first few minutes as the work takes over. You are looking at shapes, light and proportion, and so is everybody else. The model is a professional who is used to the room, and the setup around them is calm and businesslike.
05Should I book ahead?
For taught courses and popular evenings, yes, because places are limited and a model is booked for a set number of drawers. Some drop-in sessions accept people on the door, but a message in advance avoids a wasted journey. Check the venue's own site for current booking rules, prices and start times.
06How long does a life drawing class last?
Most evening sessions run for two to three hours, including a break. Daytime classes can be longer. At the Royal Drawing School in Shoreditch, a Saturday life drawing drop-in runs either as a half day, 10am to 1pm or 2pm to 4pm, or as a full day from 10am to 4pm. Read the listing before you plan travel home, and see the guide to life drawing in London for more venues.
07Can I take a photo of my drawing?
Usually yes, as long as the model is not in the frame. Photographing the model is a different matter. The Register of Artists' Models, the UK register for life models, says models can refuse to be photographed and can charge a fee if they agree, and many venues ban it outright. If you want a picture of your sheet, take it during the break, pointed at the board.