

Anatomy guide
Anatomy for Artists: Figure Drawing and Life Drawing Basics
Anatomy for artists is not medical study. It is a short list of proportions, bony landmarks and muscle masses that explain why a body looks as it does, and make life drawing easier to read.
London anatomy courses (Royal Drawing School, Scott Eaton rechecked), Hunterian Museum visit details and book editions checked on
- Adult figure
- About 7.5 heads tall
- Key landmarks
- Pelvis, ribcage, shoulder blades
- Study aid
- Gesture first, structure second
Artists have studied anatomy since the Renaissance, when dissection and drawing went hand in hand, and it remains a standard part of art school teaching. The reason is practical. A figure drawn from the outline alone tends to look flat or wrong in ways the drawer cannot identify. Knowing what lies under the skin tells you where to look.
This guide covers anatomy for artists at the level that helps in a life room: proportions, the bony framework, the main muscle groups and a few habits for studying. It pairs with the main guide to life drawing, which explains how a session runs.
Proportions in figure drawing
A common starting rule is to measure the body in heads. An adult figure is often taken as about seven and a half heads tall, with the chin at one head, the nipples at about two, the navel at about three and the crotch near the halfway point of the body. The arms hang down to about mid-thigh, and the elbows line up with the waist.
These figures are a convenient fiction. Real people differ in leg length, torso length and build, and children have much larger heads relative to their bodies. Use the head-unit rule to check a drawing, and then compare it against the model. In a life drawing session, hold a pencil at arm’s length and measure the head against the length of the torso and the legs. If your figure is five heads tall or nine heads tall, you will see it quickly.
Also compare widths with heights. The shoulders of a man are often about two heads wide, while a woman’s shoulders are narrower, and the hips of a woman are often as wide as the shoulders. Again, the model is the reference.
The table gathers the head-unit landmarks most teachers use for a standing adult. Treat it as a checklist to test a drawing against, not a template to draw from.
| Landmark | Approximate position |
|---|---|
| Chin | 1 head from the top |
| Nipples | About 2 heads |
| Navel | About 3 heads |
| Crotch, pubic bone | Near the halfway point of the body |
| Elbows | Level with the waist |
| Fingertips, arms hanging | About mid-thigh |
| Whole figure | About 7.5 heads tall |
Male and female anatomy for artists
The skeleton explains most of the differences an artist needs to see. On average, the female pelvis is wider and shallower in relation to the ribcage, so the thigh bones angle more steeply inward from hip to knee. The male figure tends to have broader shoulders over narrower hips and a larger ribcage, which makes the torso read as a wedge.
Fat lies differently too. Many women carry more over the hips, thighs and buttocks, and it softens the bony landmarks, so the drawing relies more on the overall curve of the form. On many men the collarbone, the shoulder blades and the edge of the ribcage stay closer to the surface. These are averages across large groups. Age, build and fitness move any individual far from them, and a life class with a range of models is the quickest way to see how far.
The skeleton: landmarks that show through
You do not need to draw all two hundred and six bones. A handful of structures do most of the work for figure drawing.
The skull and jaw give the head its shape, and the jaw hinge sits just in front of the ear.
The spine curves in an S-shape, with the neck curving inward, the upper back outward and the lower back inward again. Even when it is hidden, the spine sets the direction of the pose.
The ribcage is an egg-shaped box that tapers toward the neck. It tilts and twists against the pelvis, and that tilt is the main source of movement in a standing pose.
The pelvis is a bowl-shaped block. When the weight is on one leg, the pelvis tilts down on the free side, and the shoulders tilt the other way to balance. Artists call this contrapposto.
The shoulder girdle is the collarbone and shoulder blade. The shoulder blades slide across the back as the arms move, which explains the changing shapes of the upper back.
The knee, elbow, wrist and ankle are visible joints and useful as markers when measuring limbs.
When you draw, think of the ribcage and pelvis as two blocks connected by a flexible spine. Draw them first, check the angle between them, and then add the limbs.
Major muscle groups
The surface form of the body comes from muscles lying over the bones. For artists, it is easier to learn them as groups than as a long list of names.
- The neck and shoulder: the trapezius, which runs from the base of the skull across the shoulders, and the deltoid, the rounded cap of the shoulder.
- The chest and back: the pectorals at the front, the latissimus dorsi at the back, which form a wide V from the waist to the armpit.
- The abdomen: the rectus abdominis in the middle and the obliques on the sides.
- The arm: the biceps and triceps in the upper arm, and the forearm muscles, which are larger near the elbow and taper toward the wrist.
- The hip and thigh: the gluteals, the quadriceps at the front of the thigh and the hamstrings at the back.
- The lower leg: the calf, which gives the back of the leg its bulge, and the shin, which has little muscle over the bone.
Look at how the groups change shape when they work. A relaxed arm is soft and long, a flexed arm is shorter and fuller. In a long pose, the supporting leg shows a harder, more defined thigh and calf than the relaxed one. That kind of observation connects a drawing to the way a body works.
Foreshortening
Foreshortening happens when a form points toward you or away from you. A leg seen from the foot of a reclining figure looks short, and the foot looks huge. An arm pointing at the viewer is a stack of overlapping shapes. It is the point where many beginners lose confidence, because the drawing seems to contradict what they know about the body.
Three habits help. First, trust the shapes you see and not the part you know. Second, measure: compare the size of the foot with the head, the width of the knee with the width of the thigh. Third, use overlap. A forearm coming toward you overlaps the upper arm, and the overlap is a clear clue to depth. Work with simple blocks first, and add the muscles afterward.
How to study anatomy for life drawing
Anatomy for artists works best when it is a small, regular habit.
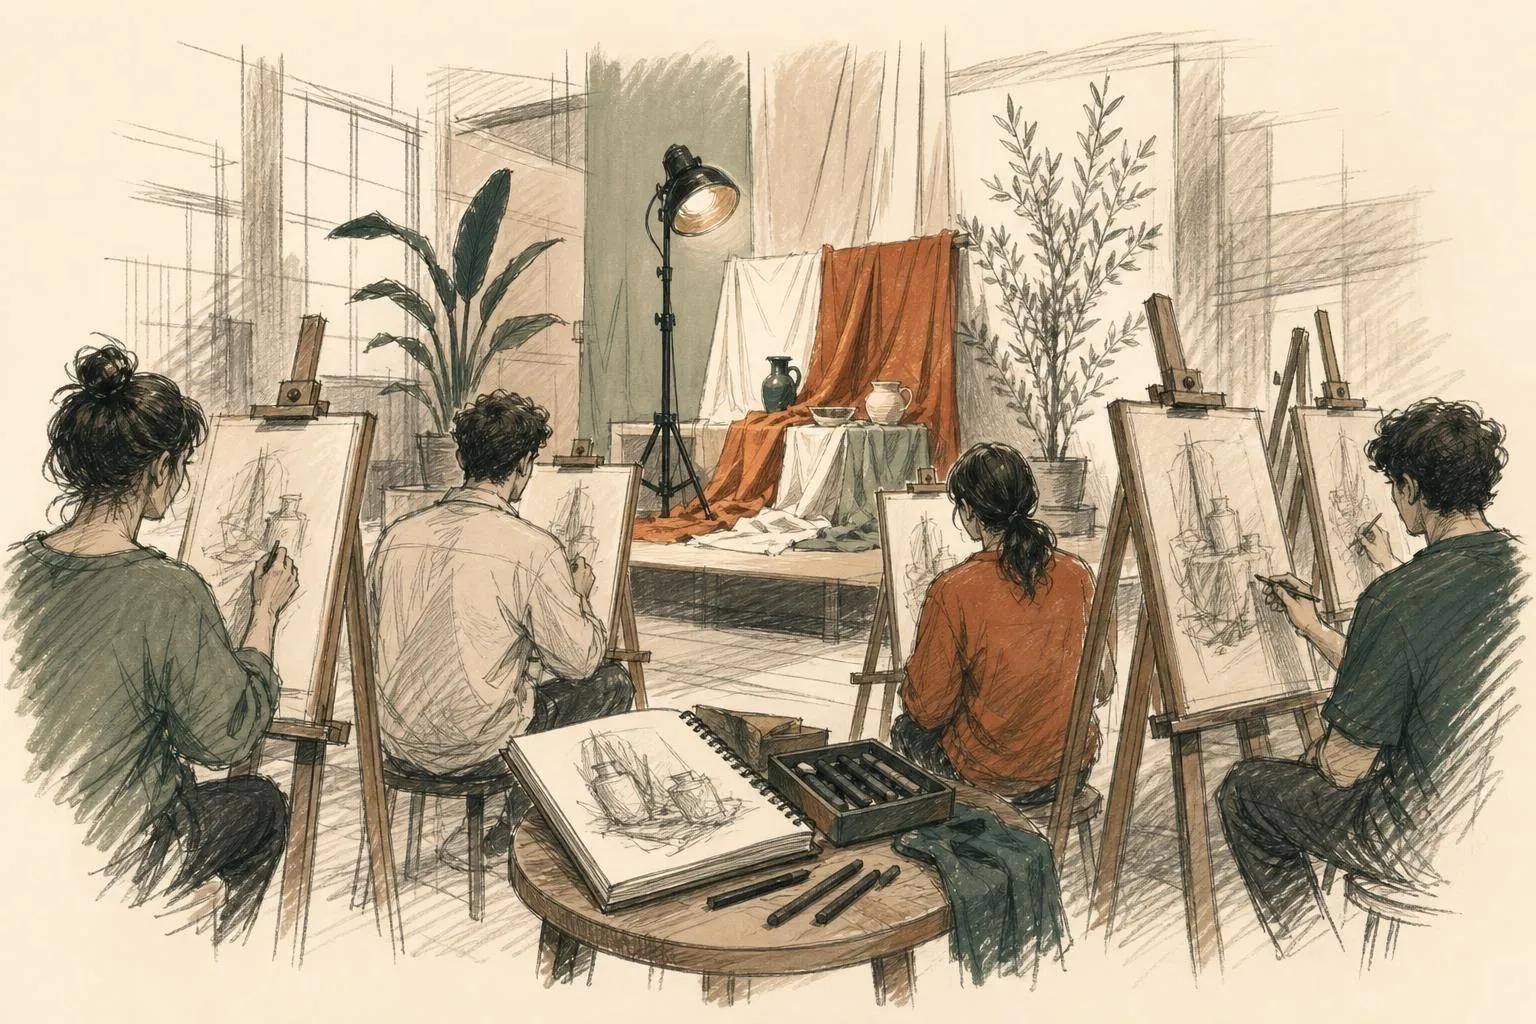
- Draw from a model. A life drawing class gives you the real thing. Use gesture poses to see the movement and long poses to look for structure.
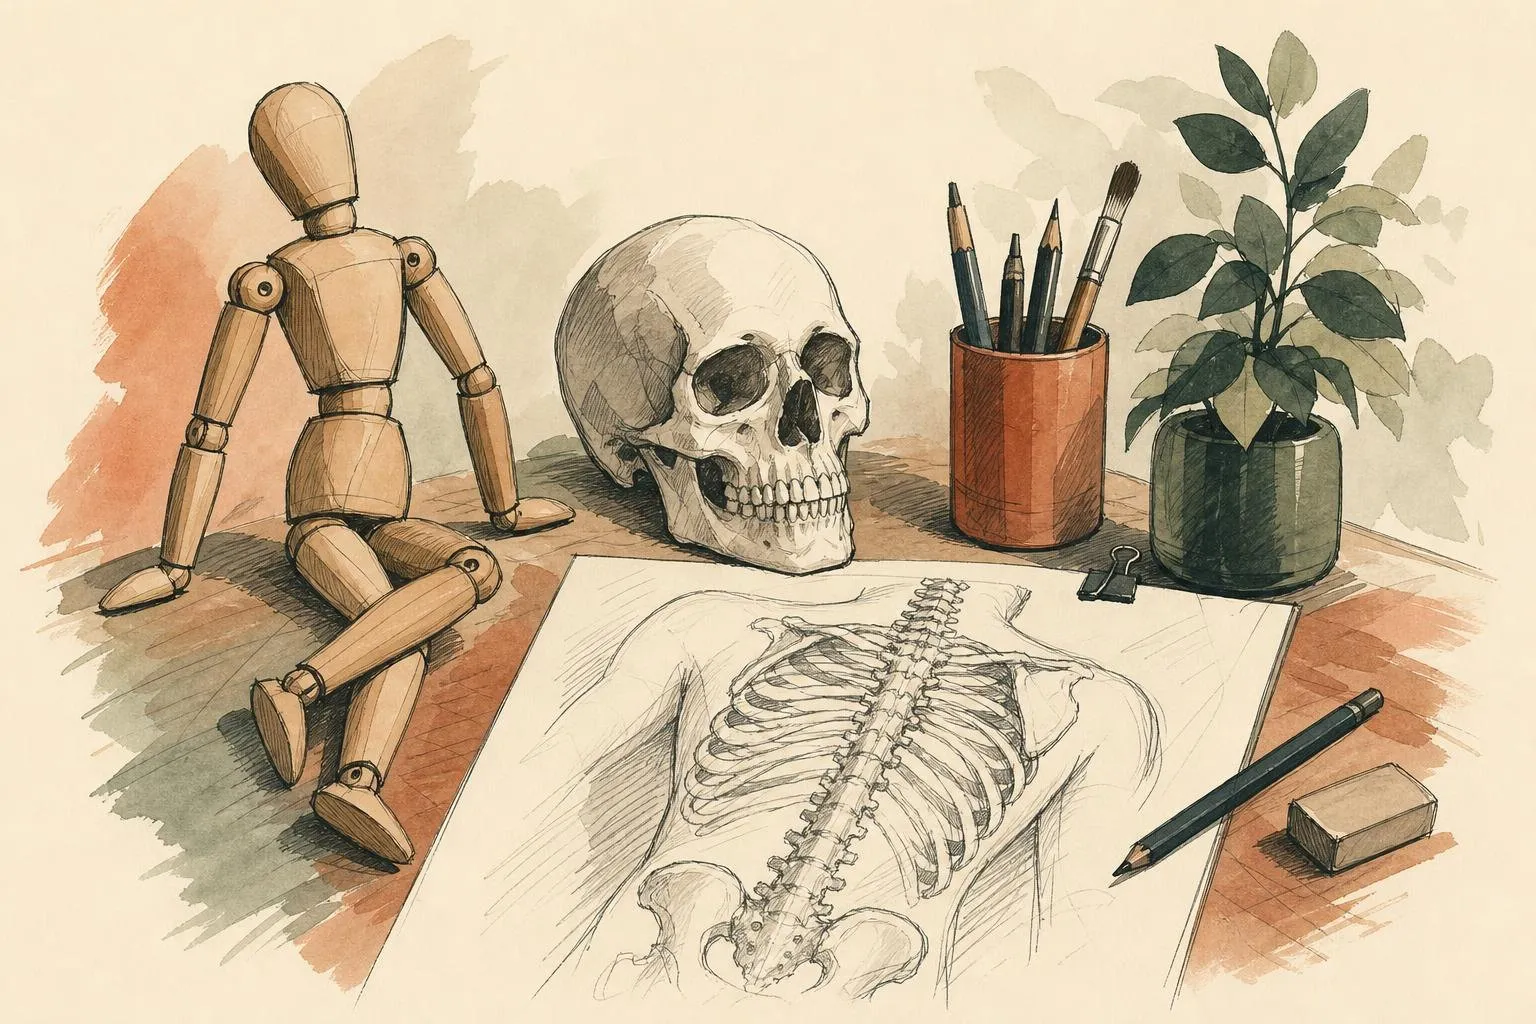
- Draw from a skeleton or a mannequin. A plastic skeleton or an articulated wooden figure is cheap and always available. Pose it, draw it, and compare with the drawing from the life room.
- Study one region at a time. A week on the ribcage and pelvis, another on the arm, another on the leg. Repeat the drawing from memory afterward.
- Use books and museum collections. Anatomy books designed for artists show the surface forms with clear diagrams. Museums often have plaster casts and old master drawings to study. Several are free, and the guide to free museums in London is a good place to start.
- Take a short course. Art schools and colleges have run anatomical drawing courses and figure courses that give structured teaching, and a tutor can correct habits that you cannot see yourself.
Keep your studies small. A page of ten quick drawings of the shoulder from different angles is better than one overworked piece. Date the pages, and review them after a month.
Anatomy books for artists
Most artists end up with two kinds of book: a simple one that teaches construction, and a large reference to look things up in. The four below turn up often on art school reading lists, and each does a different job.
| Book | Edition details | Best used for |
|---|---|---|
| George Bridgman, Constructive Anatomy | First published 1920 | Seeing the body as simple, interlocking masses |
| Sarah Simblet, Anatomy for the Artist | Dorling Kindersley, 2001, reissued 2020; photography by John Davis | Photographs of models paired with drawings of the structure |
| Eliot Goldfinger, Human Anatomy for Artists: The Elements of Form | Oxford University Press, 1991, 368 pages | Detailed reference on muscles and surface form |
| Gottfried Bammes, The Complete Guide to Anatomy for Artists & Illustrators | German original 1964; English edition Search Press, 2017, 504 pages, over 1,200 illustrations | A systematic course, from proportion to movement |
Bridgman’s drawings are fast and blocky, and they help most in the first months, when the problem is getting a pose to stand up. Simblet, who has taught drawing at the Ruskin School in Oxford, is the friendliest for human anatomy drawing at home, because each photograph of a model sits beside an overlay of the bones and muscles. Goldfinger and Bammes answer narrower questions: how the forearm twists, what the knee does when it bends. Read them with a drawing in front of you and a specific question in mind.
Where to study anatomy in London
A handful of London venues teach anatomy or give access to anatomical reference. The table shows what each venue listed on its own pages when checked in November 2026. Terms and fees change, so treat it as a guide to what kind of teaching exists.
| Venue | What is offered | As listed |
|---|---|---|
| City Lit, Keeley Street, Covent Garden | Anatomical life and portrait drawing, evening course, tutor Andrea Voisey | From Tue 2 Feb 2027; £459 full, £367 senior, £298 concession |
| City Lit, Keeley Street | Anatomical portrait drawing, tutor Andrea Voisey | From Fri 2 Jul 2027; £299 full, £239 senior, £194 concession |
| Royal Drawing School, Shoreditch | Anatomy-based life drawing courses in some terms, such as Evening Life Drawing and Human Anatomy | Autumn 2026 run: Mondays 6.30pm-9pm, 14 Sep to 16 Nov 2026; fee not on the fact sheet; check the school's programme for later terms |
| Scott Eaton, Somerset House | Intensive Anatomy for Artists, four days, no prior anatomy needed | Runs periodically; no dates announced when checked, check the course page |
| Hunterian Museum, Lincoln's Inn Fields | Hunterian Drawing Club, a day led by medical artist Joanna Cameron | 11:00-16:00, £15; boards, pencils, paper and stools provided |
The City Lit course states that no previous study of anatomy is expected, and the Royal Drawing School’s autumn 2026 evening course used a basic knowledge of the skeleton to support drawing from the model, with quick exercises and longer poses. Scott Eaton’s workshop starts with proportions, the mechanics of the skeleton and the bony landmarks, adds a life model session on the third day and ends with a visit to the V&A.
The Hunterian Museum, run by the Royal College of Surgeons of England at 38-43 Lincoln’s Inn Fields, is the most direct anatomy reference for artists in the city. Entry is free, with booking recommended, and it opens Tuesday to Saturday from 10:00 to 17:00. Because human remains are on display, under-16s must come with an adult. The drawing club asks for dry materials only, so leave ink and watercolour at home.
For the figure in stone, the plaster casts at the V&A and the Greek and Roman sculpture at the British Museum are free to draw, each with its own rules on media and stools, set out in the guide to free museums in London.
Anatomy and the rest of your drawing
Anatomical knowledge does not replace looking. A drawing built only from a formula looks stiff, and the model always supplies details a book cannot. The aim is to look with better questions: where is the weight, what is the ribcage doing, how does the shoulder sit. If you are heading to a session for the first time, the walkthrough of a first life drawing class explains what to bring, and the guide to still life drawing covers the quieter practice of tone and form that supports figure work.
Take a sketchbook to a museum with a sculpture gallery this week and draw one torso from three angles. Write the names of the visible muscles beside it, and check them against a book when you get home.
FAQ
Questions, answered
01How much anatomy does an artist need to know?
Enough to see the structure under the surface, not the whole medical syllabus. The ribcage, pelvis, spine, shoulder girdle and the large muscle groups explain most of what appears in a figure. Add the bony landmarks that show through the skin, such as the collarbone and the knee. That is a few weeks of steady study, repeated regularly.
02Should I learn anatomy before life drawing?
It is better to do both together. Drawing from a live model gives you something to look at, and anatomy gives you a reason for what you see. Starting with life drawing and adding anatomy as questions come up works for most people, because the questions are specific. In the capital, the guide to [life drawing in London](/art-classes/life-drawing/london/) compares venues, prices and levels.
03What are the standard proportions of the figure?
Many teachers use the head as a unit, with an adult figure about seven and a half heads tall, and the halfway point of the body near the pubic bone. These are guides, not laws. Real people vary, and the model in front of you is the final authority.
04What is foreshortening?
Foreshortening is the visual compression of a form that points toward or away from you, such as an arm stretched at the viewer or a reclining figure seen from the feet. The part nearest to you looks larger and shorter in length. It is solved by measuring angles and shapes, and by drawing what is there, not what you know.
05Are anatomy classes available in the UK?
Yes. In London, City Lit listed an evening course in anatomical life and portrait drawing from February 2027 at £459 full fee, the Royal Drawing School has run anatomy and life drawing courses in recent terms, most recently on Monday evenings in autumn 2026, and the Hunterian Museum hosts a £15 drawing day among its anatomical specimens. Dates and fees change each term, so the booking page of each venue is the place to confirm them.
06Which anatomy book should a beginner start with?
Sarah Simblet's Anatomy for the Artist suits most beginners, because it pairs photographs of models with clear drawings of the structures beneath. George Bridgman's Constructive Anatomy of 1920 is short and teaches the body as simple blocks. For depth, Gottfried Bammes and Eliot Goldfinger are the standard references, but both are large books best used to answer specific questions.