Still life guide
Still Life Drawing for Beginners: Setting Up Objects, Light and Tone
Still life drawing is the slow, controllable way to learn observation. Objects hold still, the light can be arranged, and a drawing can take as long as it needs.
London still life works on display and Estorick Collection visit details checked on
- Setup time
- 10 to 15 minutes
- Good first objects
- Jug, pear, cup, book
- Light
- One source, from the side
A still life is a group of objects set up on purpose and drawn from observation. It is the quietest form of drawing practice, and one of the most useful. Nothing moves, nothing tires, and the light stays where you leave it. For a beginner, that stability turns the hard parts of drawing into things that can be learned one at a time: shape, proportion, tone and composition.
It also sits well beside life drawing, which is the faster and less forgiving relative. This page explains how to set up still life drawing at home, with exercises that build the skills you will use in a life room.
What still life drawing is
Still life is one of the principal genres of Western art, and its subject is anything that does not move: fruit, flowers, vessels, books, tools, food on a table. Tate’s glossary notes that the French Academy of the seventeenth century placed it at the bottom of its ranking of subjects, because it involved no human figure. That low status left painters free to experiment, and Tate names Paul Cézanne, the Cubists and later Patrick Caulfield among the artists who used a table of objects as neutral ground for testing ideas about form.
For a beginner, that neutrality is the attraction. A pear has no expression to capture and no likeness to lose. It has a clear shape, a lit side, a shadowed side and a cast shadow on the table, and a drawing needs little else.
Choosing objects for still life drawing
Start with a small number of ordinary objects. Two or three is plenty. Good choices for beginners include a ceramic jug, a pear or an apple, an egg, a cup, a book and a folded cloth. They are solid, matte and have shapes that read clearly.
Pick objects of different sizes and heights so that the group has some variety, and contrast their surfaces: a smooth pear against a rough cloth, a matte cup against a glossy one. Avoid anything transparent or mirror-like for now. Glass shows what is behind it, and shiny metal reflects the room, both of which are interesting but difficult at first.
Objects do not need to be beautiful. A battered kettle or a pile of worn books has more character than a new vase, and everyday things are free. A cheap cardboard box makes a good support to raise one object above another.
Pencils, paper and other materials
Still life pencil drawing needs very little kit. A small range of pencil grades covers the whole tonal scale, and the letters on the barrel tell you how each will behave: H for hard and pale, B for soft and dark, HB in the middle.
| Material | How it behaves | Use it for |
|---|---|---|
| H or 2H pencil | Hard lead, pale line, erases cleanly | Construction lines and ellipses |
| HB pencil | Middle of the scale | General drawing and light tones |
| 2B to 4B pencil | Softer, darker, smudges easily | Half tones and shadow shapes |
| 6B or softer | Very soft and dark | Core shadows and the darkest accents |
| Willow or vine charcoal | Light, wipes off with a cloth | Blocking in large areas of tone |
| Putty rubber | Can be shaped to a point | Lifting highlights and correcting |
| Cartridge paper | Smooth to medium surface | Most pencil and charcoal work |
Three or four pencils are enough to start, for example an H, an HB, a 2B and a 6B. Sharpen them with a knife if you can, leaving a long point, because a long point lets you shade with the side of the lead. Work on a pad propped at an angle, not flat on the table, so the paper is not foreshortened while you draw it.
Setting up the light
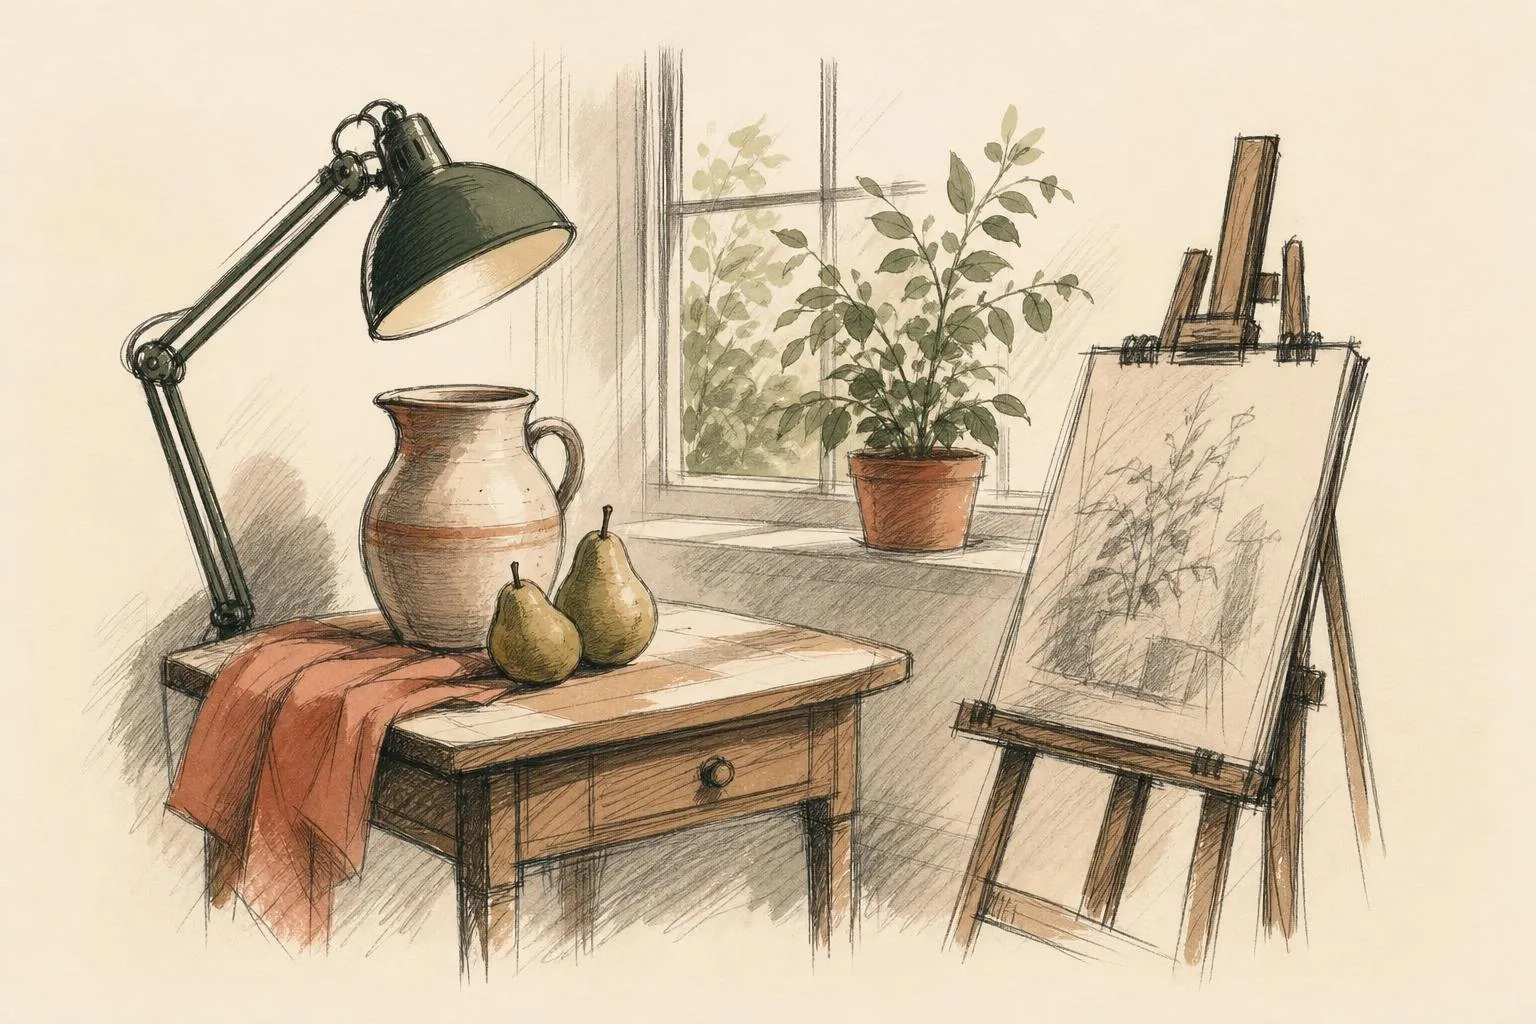
Light is what makes a still life drawing look three-dimensional. Use a single light source if you can, placed to one side and slightly above the objects. A window works well, and so does a desk lamp. The light creates a bright side, a shaded side and a cast shadow on the table, which give you the information you need to model the form.
Put the group on a table by the window, or turn off the room lights and use only the lamp. Check that no second source is throwing a second set of shadows. Daylight changes through the day, so if you plan to work for more than an hour, a lamp is steadier.
Hang a plain sheet or a piece of card behind the group so that the background is simple. A darker background makes pale objects stand out, and a pale one does the reverse. Try both on different days.
Mark the position of each object with masking tape or a pencil dot on the table. If you come back the next day, you can reset the setup exactly.
Composition
Before drawing, look at the arrangement through a viewfinder, which can be a rectangle cut out of card, or through your phone’s frame. Walk around the group and choose an angle. A few principles help:
- Overlap objects so that they connect. A pear partly in front of a jug links the two in the picture.
- Vary the spacing. Even gaps feel stiff.
- Avoid placing an object dead centre or an edge exactly on a corner of the paper.
- Let the group fill the page with some room around it, so the edges are not crowded.
Sit or stand so that the group is slightly below eye level, and keep the same position through the drawing. Move your head and the whole picture shifts.
Ellipses, boxes and eye level
Round objects cause more trouble in still life drawing than anything else. The rim of a cup or the mouth of a jug is a circle, and seen from above it becomes an ellipse. The further below your eye level the rim sits, the rounder that ellipse looks. That is why the base of a jug is drawn fuller than its top: you look down on it more steeply.
Draw each ellipse as a complete shape, including the back edge you cannot see, and rub out the hidden part afterward. Keep the ends rounded. A pointed end, like a lemon or an eye, is the most common mistake, and it makes the object look as if it has been folded. Check that the long axis of each ellipse sits at a right angle to the central axis of the object.
Books and boxes follow linear perspective. Parallel edges that travel away from you appear to converge, and at the short distance of a still life the effect is gentle. Hold a pencil level at arm’s length against the edge of a book to read its true angle, and copy that angle onto the paper.
Tonal values in still life drawing
Tone is the range of light to dark. A beginner’s first still life drawing often has too little of it, so the objects look flat and grey. The cure is to push the darks and keep the highlights clean.
Squint at the group to find the main shapes of light and dark. Squinting removes detail and shows you what matters. Then decide on a scale of five or six steps, from the white of the paper to the darkest shadow. Block in the shadow shapes lightly across the whole group, then deepen them gradually, and finally add the darkest accents where objects touch the table or each other.
Look for the following on a rounded object: the highlight, the light tone, the half tone, the core shadow, the reflected light along the edge of the shadow and the cast shadow on the table. The core shadow is the darkest part of the form itself, and the cast shadow is usually darker still. Reflected light is a gentle lift inside the shadow and stops the object from looking like a flat disc.
Use charcoal or a soft pencil, and work from light to dark. A putty rubber lifts highlights and corrects mistakes.
Exercises for still life beginners
- One object, five tones. Draw a single egg or pear under a lamp using only five distinct tones. Keep the edges soft.
- Contour then tone. Draw the group as a continuous line drawing, without lifting the pencil or shading, for ten minutes. Then draw it again with tone and no outline.
- Negative space. Draw the shapes between the objects, such as the gap between a jug handle and its body, and let the objects appear from them.
- Measuring. Hold a pencil at arm’s length and compare the height of each object with the shortest one. Note the ratios and check your drawing.
- Same group, three lights. Draw the same objects with the lamp at the left, the right and the front. Notice how the shadows change.
- Timed sketches. Set a timer for five minutes and draw the group quickly, then ten, then twenty. Compare the three.
Spend a week on one exercise a day. At the end of the week lay the drawings side by side, and the progress usually shows.
Still life drawing ideas
Once the jug and pear feel familiar, a change of subject keeps the practice fresh. A kitchen corner works well: a colander, a wooden spoon and an onion give three very different textures. A pair of worn shoes on newspaper teaches creases and folds. The contents of a coat pocket, keys, glasses and a notebook, make a small, awkward group that tests measuring.
White objects on a white cloth are a classic exercise for tone, because an egg, a cup and a folded napkin can only be separated by slight differences of grey. Flowers are worth drawing over several days as they open and then droop. Five or six drawings of the same vase make a small record of change. Fruit with a cut face, such as a halved lemon or a quartered apple, adds a flat plane to a rounded form and is a good test of how you handle edges.
Still lifes to study in London
Copying a painted still life in a gallery shows how an artist arranged objects and light. London has fewer still lifes on public view than portraits or landscapes, and the works on the walls change, so check each painting’s online record first. The table shows what was listed when checked in November 2026.
| Work | Where | Visit details |
|---|---|---|
| Paul Cézanne, Still Life with Water Jug, about 1892-3, oil on canvas, 53 x 71.1 cm | National Gallery, Room 45, on loan from Tate | Free; open daily 10:00-18:00, Fridays to 21:00 |
| Giorgio Morandi, still-life etchings, including Still Life, 1936 and Still Life, 1948 | Estorick Collection, 39a Canonbury Square, N1 2AN | Adult £9.50, concession £7.50, under-18s free; Wed-Sat 11:00-18:00, Sun 12:00-17:00 |
The Cézanne is useful precisely because it is unfinished. The National Gallery says it does not know why the picture was left incomplete, and what remains shows the bones of the arrangement: a blue jug, a knife set diagonally across the table, a draped cloth, plates, bread and fruit. Draw the main shapes and the diagonal of the knife, and you have the composition. Pencils, graphite and pads up to A3 are allowed in the gallery, and the full sketching rules sit in the guide to free museums in London.
Morandi spent decades drawing and etching the same bottles, jars and boxes on a table, and his etchings build tone entirely from hatched lines. The Estorick is on Canonbury Square, a short walk from Highbury and Islington station, and it is closed on Mondays and Tuesdays. Which of its Morandi works are on show at a given time depends on the current display.
Records can also tell you what is not on view. Willem Claesz. Heda’s Still Life with a Lobster, a large Dutch picture of a lobster, glasses, a gold goblet and lemons in the National Gallery’s collection, was listed as not on display when checked.
From still life to the figure
The habits of still life carry directly to the figure. Measuring proportion, seeing a core shadow and judging a cast shadow all matter when you draw a shoulder or a thigh. When you are ready to move on, the guide to anatomy for artists explains the structures under the surface, and the walkthrough of a first life drawing class covers what to expect in the room.
Keep drawing small things in your day as well. A pocket sketchbook is a good companion, because a mug on a cafe table is a still life that arranged itself.
Set up a jug, a pear and a lamp this evening, and give the first drawing thirty minutes.
FAQ
Questions, answered
01What are the best objects for a beginner?
Simple, matte, solid objects such as a jug, a pear, an egg, a mug or a book. They have clear shapes and straightforward shadows. Avoid very shiny or transparent things at first, because reflections and glass complicate the tones. A white or cream object against a darker cloth shows the full range of tone.
02How long should a still life drawing take?
A first study can be twenty to forty minutes. Longer drawings of an hour or two let you build up tone slowly. Keep the setup unchanged if you want to return, and mark the position of each object on the table with pencil or tape so that you can reset it.
03What kind of light is best?
One strong light source from the side, such as a window or a single lamp, gives clear light and shadow. Avoid overhead room lighting, which flattens the forms. A lamp with a warm or neutral bulb is steady, whereas daylight changes through the afternoon, so work at a consistent time.
04Do I need to draw an outline first?
Lightly, yes. A few construction lines establish the proportions, the ellipses of round objects and the relationship between the objects. Then check the positions by measuring against one object, and only after that add the tone. Heavy outlines early on make the drawing harder to correct.
05Is still life useful for life drawing?
Yes. The skills of measuring, judging tone and building form carry across directly. Many tutors recommend doing both because still life is slow and lets you learn without the pressure of a moving subject, while life drawing trains quickness and structure. Londoners can compare venues and prices in the guide to [life drawing classes in London](/art-classes/life-drawing/london/).
06Where can you see still life paintings in London?
The National Gallery shows Cézanne's unfinished Still Life with Water Jug, on loan from Tate, in Room 45, and entry to the collection is free. The Estorick Collection in Canonbury holds still-life etchings by Giorgio Morandi, with adult entry at £9.50. Displays change, so check each work's online record for its current location before a visit.